

Looking to add a playful touch to your morning routine? These whimsical Crochet Egg Coaster Pattern are the perfect blend of function and charm. When I found myself searching for a way to protect my table from my daily coffee ritual, inspiration struck – why not combine my love of breakfast with my passion for crochet? The result is this delightful sunny-side-up coaster design that’s sure to bring a smile to your face with every sip.
Novice or expert, you’ll find this egg coaster pattern a joy to create – the simple stitches come together quickly, turning yarn into a breakfast-inspired masterpiece in just one sitting. Perfect for brightening up your morning coffee spot or gifting to a breakfast enthusiast, these cheerful coasters are as fun to make as they are to use. The straightforward design lets you focus on the joy of creating while building your crochet confidence with each stitch.
Ready to transform your yarn into a breakfast-table conversation starter? I’ll guide you through every stitch of this charming egg coaster, making sure you have all the details to create your own with confidence. The best part? Once you’ve mastered this pattern, you’ll have the skills to whip up an entire breakfast-themed collection for your morning coffee ritual. Lets continue with our Crochet Egg Coaster
let’s get started!
Note
The magic is in the materials – I’ve found that cotton yarn is your best friend for these coasters. Not only does it soak up those inevitable coffee drips like a champ, but it’ll keep looking fresh and hold its shape through countless breakfast gatherings. Trust me, your future self will thank you for choosing cotton!
Want to customize the size? Here’s a little secret: just remember the magic number 12. Add or subtract stitches in multiples of 12 to keep that perfect circular shape. Whether you’re making dainty espresso coasters or generous mug rugs, this simple rule will keep your eggs looking sunny and round.
One last thing that’ll make a huge difference – take an extra minute to weave in those loose ends when you’re finished. I know it’s tempting to skip this step, but since these coasters will see daily action, those few extra moments ensuring everything’s secure will keep your creation looking professional for the long haul.
Materials Needed:
- Lily Sugar N Cream cotton yarn – yellow
- Lily Sugar N Cream cotton yarn – white
- 4.5mm crochet hook
- Tapestry needle
Abbreviations to Remember (US terms)
- Single crochet – sc
- Half double crochet – hdc
- Double crochet – dc
- Triple crochet – tr
- Slip stitch – sl st
- Increase – inc ( 2 stitches in 1 stitch)
Instructions for Egg Coaster Crochet
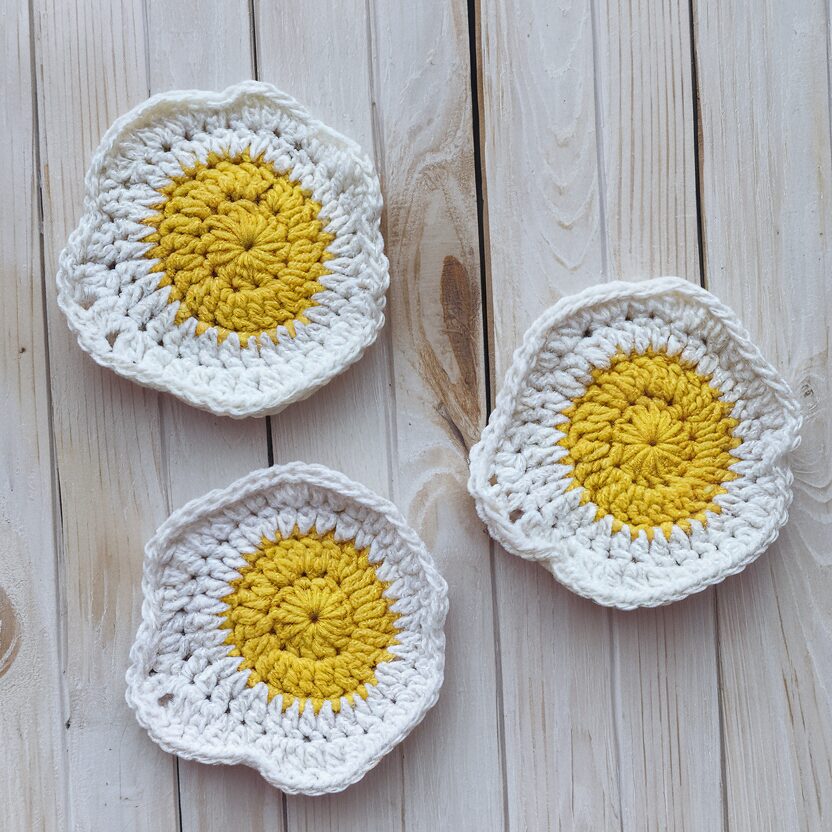
Like ripples spreading across a pond, this coaster design unfolds from the center outward in graceful rounds. The circular pattern not only creates that perfect sunny-side-up look but also ensures your coaster lies completely flat ideal for keeping your morning drinks steady.
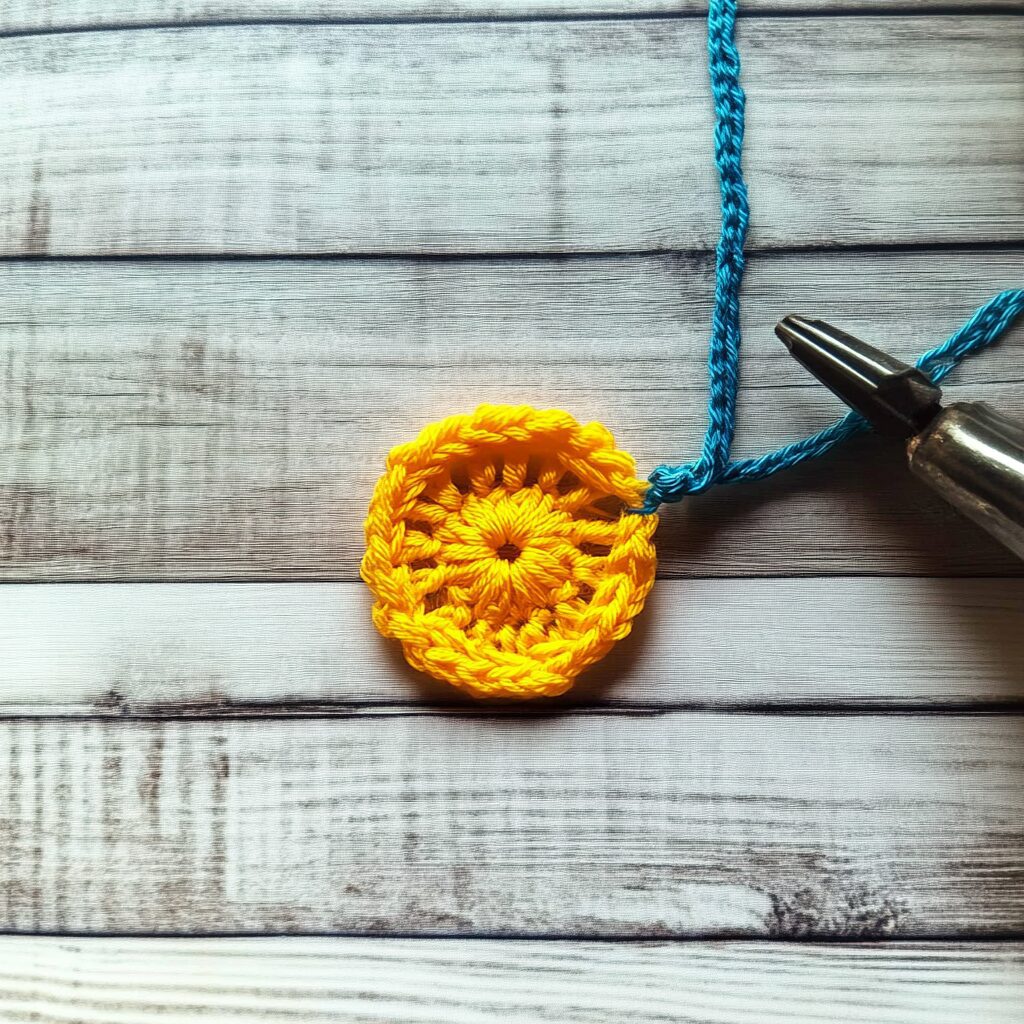
Round 1: Begin your sunny creation by forming a magic ring with your yellow yarn. Work a chain of 2, then craft 12 double crochet stitches into that magical center. Connect your circle by joining with a slip stitch to your first double crochet, giving you a neat dozen stitches (12 total).
Round 2: hain 2 to start your next round. Here’s where your yolk grows – work a double crochet increase into each stitch from your first round, doubling your stitch count. Secure with a slip stitch to your starting double crochet (you’ll have 24 stitches now). Time to say goodbye to the yellow – fasten off and welcome your white yarn for the “white” of the egg.

Round 3: Work this sequence: single crochet increase then single crochet, half double increase followed by half double, repeat (double increase, double) three times, work (treble increase, treble) twice, repeat (double increase, double) three more times, half double increase with half double, finish with single increase and single. Join to first single crochet with slip stitch (giving you 36 stitches).
Round 4: Feel free to get creative with your egg’s shape in this final round – as long as you end up with 48 stitches, your egg will look wonderful! Here’s the standard sequence: Start with single increase, two singles, half double, double increase with double, half double, single increase, two doubles, treble increase, double, half double, single increase, double, treble, treble increase with treble, double, half double increase, single, double, double increase with double, half double, single increase, two singles, single increase, two doubles, single increase, two singles, double increase, single. Connect to your first single crochet with a slip stitch and secure your work. Don’t forget to weave in that remaining tail (total 48 stitches).
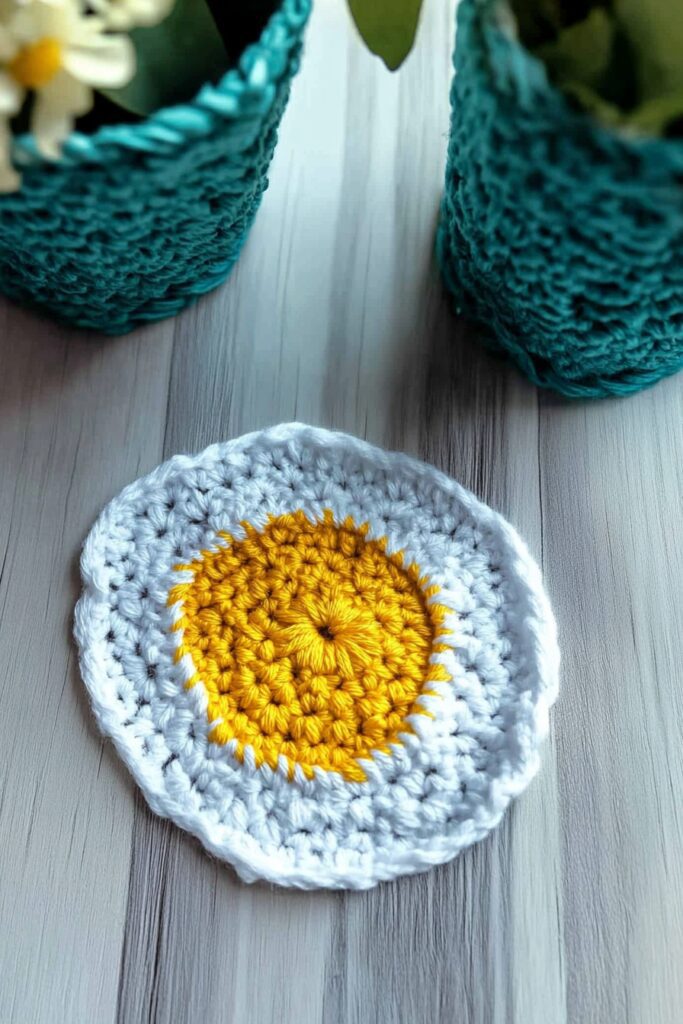
Congratulations on creating your own breakfast-inspired coaster! Whether it’s brightening up your morning coffee ritual or making someone’s day as a thoughtful gift, this sunny creation is bound to spark joy. If you’re hungry for more breakfast-themed projects, I’ve got plenty more patterns waiting for you to discover!
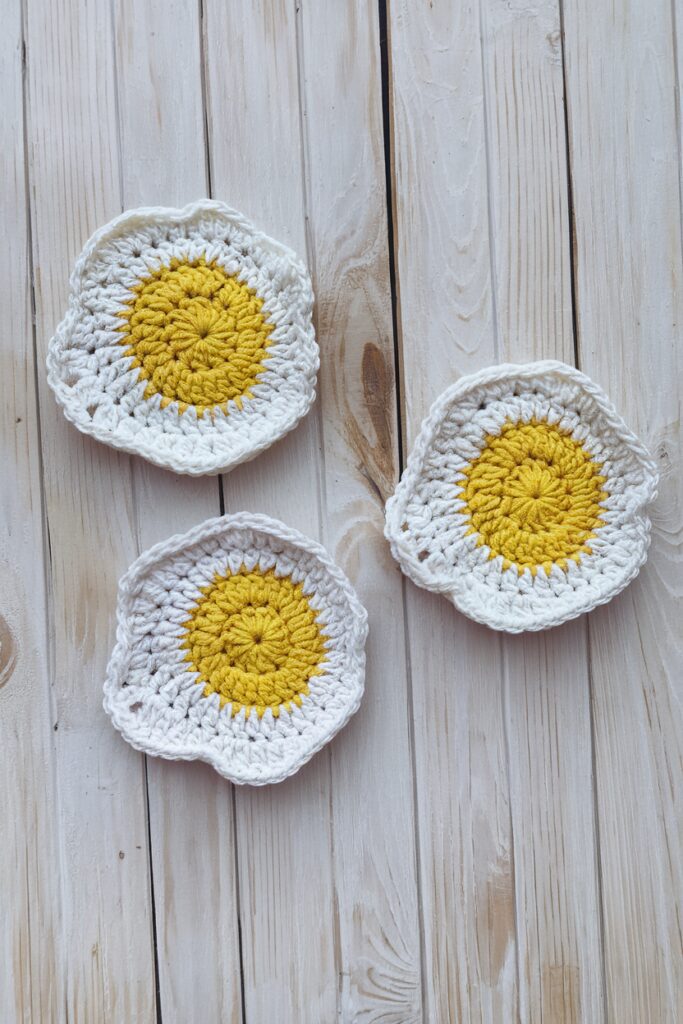
love seeing your creations come to life “Crochet Egg Coaster”, so don’t hesitate to share your unique take on this pattern. Stay tuned for more patterns that blend creativity with everyday functionality – there’s always something new on the hook! Until our next crafting journey, keep those stitches flowing!
Tips
Tension Check: Watch your tension as you work – too tight and your coaster might cup, too loose and it’ll lose shape. Finding that sweet spot in your stitching will give you the perfect flat surface for your morning mug.
Starting Strong: The magic ring technique (or magic circle) creates a polished beginning for your coaster. This method prevents any gaps at the center, giving your egg that professional finish you’re aiming for.
Shape Setting: If your finished coaster isn’t lying quite as flat as you’d like, a quick blocking session works wonders. Simply dampen or steam your piece, shape it gently, and let it dry flat to set its form.

Can I make this coaster in different sizes?
Of course! To adjust the size of your coaster, just modify the number of rounds and increase each round by 12 stitches. This ensures it stays flat and maintains its shape. Feel free to experiment until you get the perfect size for your needs.
What’s the best type of yarn to use for making a crochet egg coaster?
For the best results, opt for soft cotton yarn. Its absorbent and durable nature makes it ideal for coasters that get regular use. Plus, it maintains its shape and quality even after spills and frequent washing.
How do I avoid my coaster from curling up?
To keep your coaster from curling, maintain even tension throughout your stitches. If it still curls after finishing, try blocking it by gently shaping it and letting it dry flat.

Crochet Egg Coaster
Materials
- Single crochet – sc
- Half double crochet – hdc
- Double crochet – dc
- Triple crochet – tr
- Slip stitch – sl st
- Increase – inc ( 2 stitches in 1 stitch)
Notes
abverciations
- Single crochet – sc
- Half double crochet – hdc
- Double crochet – dc
- Triple crochet – tr
- Slip stitch – sl st
- Increase – inc ( 2 stitches in 1 stitch)
Instructions
- Round 1: Start with yellow yarn and create a magic ring. Chain 2, then work 12 double crochets (dc) into the ring. Slip stitch (sl st) to the first dc to close the round. (12 stitches)Round 2: Chain 2, then make a dc increase (dc inc) in each stitch around. Slip stitch to the first dc to complete the round. (24 stitches) Fasten off the yellow yarn and switch to white.Round 3: Begin with a single crochet increase (sc inc), followed by a single crochet (sc). Then, work a half double crochet increase (hdc inc) and a half double crochet (hdc). Continue the pattern as follows: (dc inc, dc) x3, (tr inc, tr) x2, (dc inc, dc) x3, hdc inc, hdc, sc inc, sc. Slip stitch to the first sc to close the round. (36 stitches)Round 4: This round allows for some flexibility, so feel free to slightly adjust the stitch placement to create a more organic egg shape—just ensure you finish with 48 stitches.Follow this pattern: sc inc, sc x2, hdc, dc inc, dc, hdc, sc inc, dc x2, tr inc, dc, hdc, sc inc, dc, tr, tr inc, tr, dc, hdc inc, sc, dc, dc inc, dc, hdc, sc inc, sc x2, sc inc, dc x2, sc inc, sc x2, dc inc, sc. Slip stitch to the first sc, fasten off, and weave in the ends. (48 stitches)
