

Table of Contents
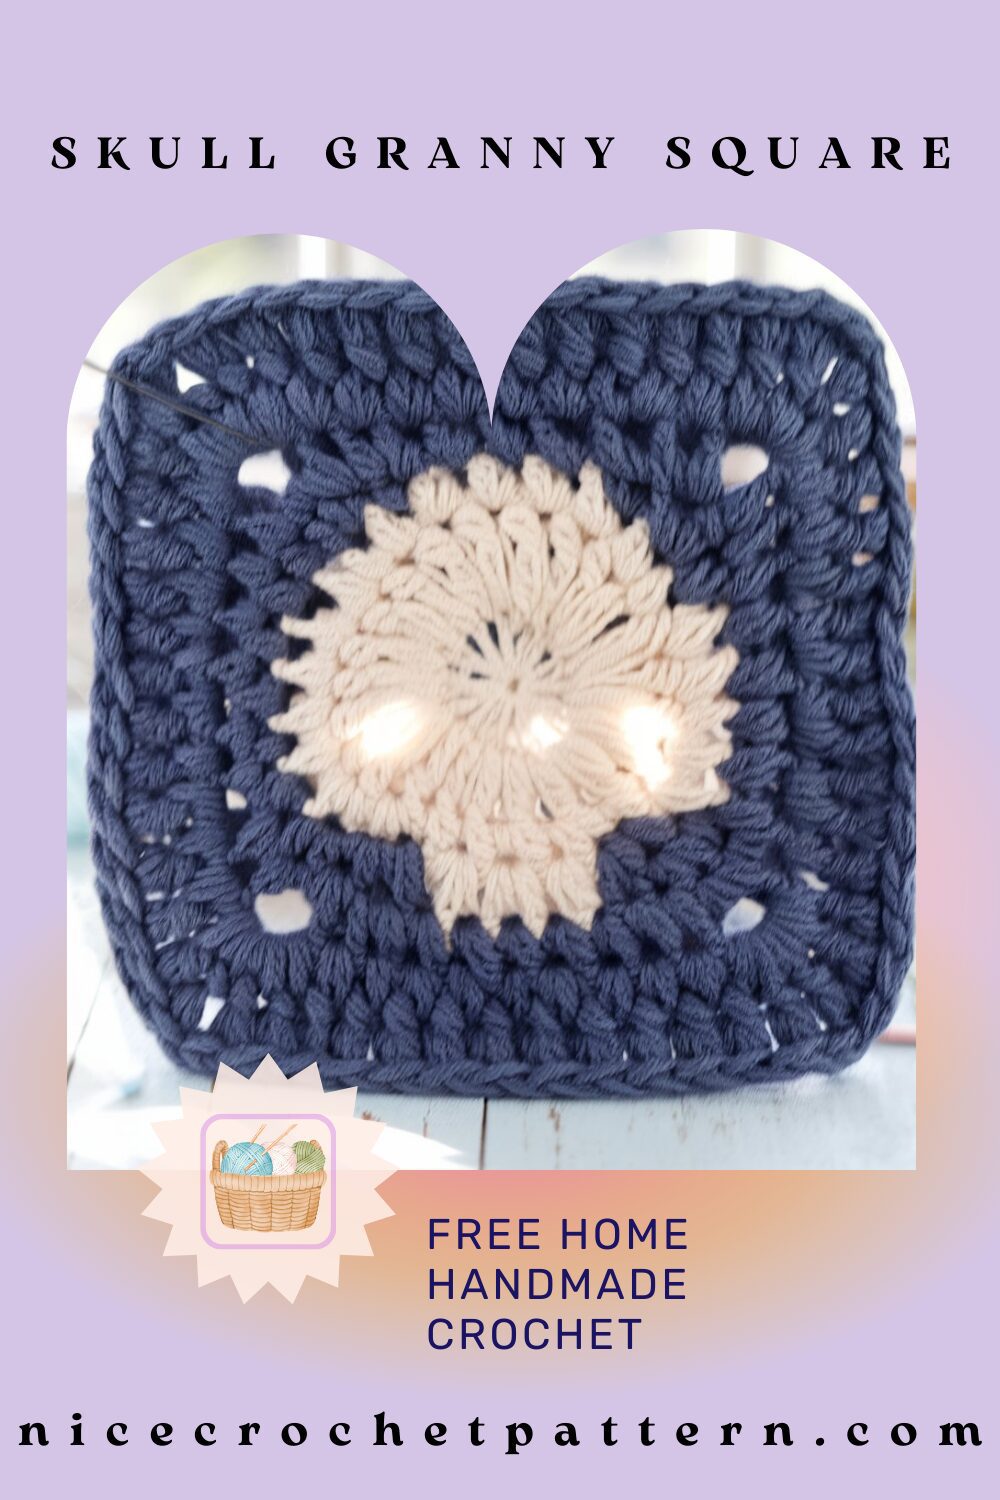
Looking for the perfect spooky addition to your crochet projects? A skull granny square brings a touch of Halloween flair to blankets, pillows, bags, and more! This detailed tutorial will guide you through creating a charming skull motif within a classic granny square framework, perfect for Day of the Dead celebrations, Halloween decor, or year-round gothic-inspired projects.
Whether you’re an experienced crocheter or just getting comfortable with granny squares, this skull pattern is accessible and rewarding. Let’s dive into this fun, seasonal project that combines traditional granny square techniques with creative skull detailing.
Why Crochet a Skull Granny Square?
The skull granny square offers a playful twist on the traditional granny square pattern. Here’s why it’s worth adding to your crochet repertoire:
- Seasonal Versatility: Perfect for Halloween decorations or Day of the Dead celebrations
- Customizable Design: Works with any color combination (though white skulls are most traditional)
- Beginner-Friendly: Uses basic stitches that are accessible to most crocheters
- Creative Expression: Adds personality and edge to standard granny square projects
- Quick Project: Can be completed in under 15 minutes once you’re familiar with the pattern
These squares can be joined together for larger projects or used individually as coasters, appliqués, or decorative elements. The possibilities are endless!
Materials You’ll Need
To create your skull granny square, gather these basic supplies:
- Yarn: Any weight yarn works, but medium (worsted/aran) or light (DK) weight is recommended
- Color A: White (for the skull motif)
- Color B: Any contrasting color for the square border (black, purple, orange, or red work well for Halloween themes)
- Crochet Hook: Size appropriate for your yarn (typically 4-5mm for worsted weight)
- Notions:
- Yarn needle for weaving in ends
- Scissors
- Tape measure (optional)
- Stitch markers (optional)
Recommended Yarn Options:
- Lion Brand Wool-Ease
- Lion Brand 24/7 Cotton
- Red Heart Super Saver
These yarns come in a wide variety of colors, are easily accessible, and work beautifully for granny square projects.
Abbreviations Used
This pattern uses standard US crochet terminology:
- ch = chain
- ch-sp = chain space
- dc = double crochet
- sc = single crochet
- sl st = slip stitch
- st = stitch(es)
Skull Granny Square Pattern Instructions
Creating the Skull Center
Setup: Ch 3 (counts as first double crochet + base chain)
Round 1: Work 8 dc in 3rd ch from hook (the base chain), ch 5, dc 1 in base ch, ch 3, dc 1 in base ch, ch 5, sl st in 1st st to join (24 stitches total)
Round 2: Ch 1 (does not count as a stitch), sc 1 in each of the 9 dc (including same place as sl st), sc 6 in next ch-sp, sl st in next ch-sp, ch 2, dc 3 in same ch-sp, ch 2, sl st in same ch-sp, sc 6 in next ch-sp, sl st in 1st st to join (30 stitches total)
Fasten off and cut yarn. At this point, you should see the basic outline of a skull with eye sockets formed by the chain spaces.
Transforming into a Granny Square
Round 1 (First color change): Join your contrasting color with a slipknot and work the first stitch in the next stitch (1 stitch after the final sl st from the previous round).
Pattern repeat: dc 1 in next st, dc 2 in next st, ch 2, dc 2 in same st, dc 1 in next st, sc 1 in next 3 st
Repeat this pattern 3 more times around the skull (4 times total), then sl st in the first stitch to join (44 stitches total)
Round 2: Sl st in next 2 st, sl st into the ch-sp, ch 2 (counts as 1st st), dc 1 in ch-sp, ch 2, dc 2 in same ch-sp, dc 1 in next 9 st, dc 2 in ch-sp, ch 2, dc 2 in same ch-sp
Repeat from * to * 2 more times (3 times total), dc 1 in the next 9 st, sl st in first st to join (60 stitches total)
Fasten off and weave in all ends using your yarn needle.
Helpful Tips for Perfect Skull Granny Squares
For the best results with your skull granny squares, keep these tips in mind:
- Count Carefully: Double-check your stitch count after each round to ensure your square maintains the proper shape and the skull remains centered.
- Maintain Even Tension: Consistent tension creates professional-looking results. If you find your square curling at the edges, your tension may be too tight.
- Weave in Ends as You Go: Don’t leave all your yarn ends to weave in at the end. Take care of them after completing each color section for less tedious finishing work.
- Use Contrasting Colors: The skull design stands out best when there’s strong contrast between the skull and the surrounding square. White for the skull with a dark border creates the classic Halloween look.
- Block Your Squares: For perfectly flat, professional-looking squares, wet or steam block them using a blocking board. This step is especially important if you plan to join multiple squares together.
Creative Project Ideas Using Skull Granny Squares
Now that you’ve mastered the skull granny square, here are some inspiring ways to use them:
Home Decor Projects
- Halloween Throw Pillow: Join 4-9 squares for a spooky accent pillow
- Table Runner: Create a festive table runner by joining squares in a row
- Wall Hanging: Frame a single square or create a grid for seasonal wall art
- Seasonal Blanket: Combine with solid granny squares for a subtle Halloween throw
Wearable Projects
- Tote Bag: Use skull squares for the front and back panels of a market bag
- Cardigan Accents: Add skull squares to the elbows or back of a solid cardigan
- Scarf or Shawl: Create a statement piece with alternating skull and solid squares
- Fingerless Gloves: Incorporate a small skull motif on the back of each hand
Smaller Accessories
- Coasters: Single squares make perfect Halloween party coasters
- Mug Cozies: Modify the pattern to fit around your favorite mug
- Zipper Pouches: Use as panels for small storage bags or makeup cases
- Appliqués: Attach to plain garments or accessories for a spooky touch
Joining Methods for Multiple Skull Squares
If you’re creating a larger project with multiple skull granny squares, here are three popular joining methods:
1. Whip Stitch Join
The whip stitch uses yarn and needle for a secure join:
- Align two squares with right sides facing each other
- Using a yarn needle, work through the aligned stitches
- Continue around all sides to be joined
- This method creates a visible seam on the back of the work
2. Flat Slip Stitch Join
This join creates a beautiful, flat seam between squares:
- Line up two squares with right sides facing
- Make a slip knot on your hook
- Insert hook through the back loops of corner stitches on each square and slip stitch
- Continue along the edge to join
3. Join As You Go (JAYGO)
The JAYGO method eliminates the need for sewing:
- Complete your first square entirely
- When working the final round of subsequent squares, substitute chains with slip stitches into the corresponding spaces of the first square
- This creates a seamless connection between squares as you crochet
Expanding Your Granny Square Collection
Once you’ve mastered the skull granny square, consider trying these other creative granny square patterns:
- Classic Granny Square
- Solid Granny Square
- Sunburst Granny Square
- Daisy Granny Square
- Star Granny Square
- Heart Granny Square
Each pattern uses similar techniques but creates a completely different visual effect, allowing you to mix and match designs for unique projects.
Why You’ll Love This Pattern
The skull granny square strikes the perfect balance between traditional crochet techniques and seasonal flair. It’s an excellent way to:
- Practice foundational crochet skills in a fun, themed project
- Create conversation-starting pieces for your home or wardrobe
- Make quick, satisfying projects for Halloween or Day of the Dead
- Add an unexpected element to classic granny square projects
Whether you’re making a single square as a festive coaster or joining dozens for a statement blanket, this skull pattern offers endless creative possibilities while remaining accessible to crocheters of various skill levels.
Happy crocheting, and enjoy bringing a touch of spooky charm to your next project!
